At NetDevices, a web and mobile development agency, we support companies, startups, and project leaders in creating high-performance, tailor-mademobile applications. In a world where mobile technology plays a central role in our daily lives, a well-designed application can be a real growth driver.
Whether it's to improve the customer experience, launch an innovative service, or digitize a business process, a well-designed professional mobile app can make all the difference.
But where to start? What steps should you take to avoid costly mistakes? In this comprehensive guide, we explain how to create a mobile app step by step: from the initial idea to publication on the App Store and Google Play, including choosing features, technologies, service providers, and budget.
Here are the essential steps you need to know to create your high-performance mobile app.
1. Define the purpose of your application and your target audience.
Creating a professional mobile application does not begin with the design or the choice of technology, but with a thorough understanding of the real needs of the market and end users.
Asa mobile development agency with over 20 years of experience, we have supported dozens of companies, from startups to large corporations, in creating their mobile applications.
We have seen many projects achieve real success, with thousands of active users within the first few weeks. But we have also seen other projects fail—not because of the technology, but because of poorly defined objectives or insufficient market research.
Before developing, you need to ask yourself the right questions:
- What is its main objective? (to sell, inform, build loyalty, automate, etc.)
- What problem does your application solve?
- Who is it aimed at? (age, digital habits, location, etc.)
A successful application is simple, useful, and clear in its value proposition. That's why we always recommend starting with a strategic scoping phase, based on interviews, personas, benchmarks, and, if possible, field validation via a prototype.
💡 Example: A client wanted to create an app for booking at-home beauty services. Thanks to preliminary market research, we identified that demand was high only in certain large cities—which allowed us to effectively target the initial marketing campaigns and avoid unnecessary overspending.
2. Define the key features of the application
Once the target has been identified, the requirements must be translated into concrete features. Be careful not to try to do everything from the outset: it is better to launch an MVP (Minimum Viable Product) with the essential features.
What is an MVP?
An MVP (Minimum Viable Product) is an initial version of your application, stripped down to the essentials but fully functional. It allows you to:
- Reduce risks before investing more
- Test your idea in the real market
- Get user feedback quickly
- Launch your app faster and at a lower cost
The MVP contains only the features that are essential to your application's value proposition.
💡 Example: If you are creating a meal delivery app, your MVP does not need a rating or loyalty system from the outset—but geolocation, order taking, and payment are essential.
How to write good functional specifications?
Before any development work begins, it is strongly recommended that clear and structured specifications be drawn up to serve as a basis for all stages of the project.
Here are the key elements to include:
- Project presentation: context, objectives, target audience
- Expected features (clear and prioritized list)
- User journey (specific usage scenarios)
- Technical constraints (integrations, APIs, existing systems, etc.)
- Expected design and ergonomics (if already defined)
- Estimated timeframes and budget
- Success indicators (KPIs to monitor after launch)
But how do you choose the right features for your app?
The selection of features must be based on several criteria:
- Main objective of the app
→ Each feature must directly serve your value proposition. - Target user profile
→ What are their needs, habits, and obstacles? There is no point in including features they will never use. - Added value
→ Does this feature really set you apart from the competition? - Cost/Complexity vs. Impact
→ Some features are costly to develop but have little real impact: priorities must be set.
We often use the MoSCoW method to classify features:
- Must-haves (essential for the app to function)
- Should have (important but non-blocking)
- Could have (potential additions if budget and time allow)
- Won’t have (for now) (not needed for the first version)
3. Choose the right technology to develop your app
The choice of technology is a key step. It depends on several criteria: budget, deadlines, expected performance, and scalability.
Three possible approaches:
|
Native application |
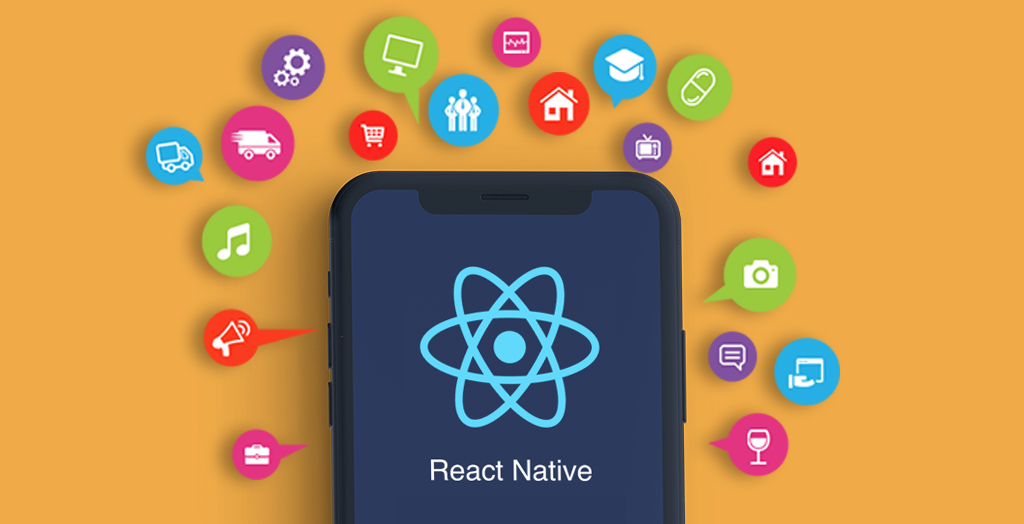
Hybrid or cross-platform application (React Native, Flutter) |
Progressive Web App (PWA) |
|
|
|
4. Choose the right agency, freelancer, or development team to create your mobile app
Now that you have defined the technologies to prioritize for your project, it's time to choose the right partners to bring it to life: a specialized agency, a freelance developer, or a dedicated development team.
And this choice is crucial.
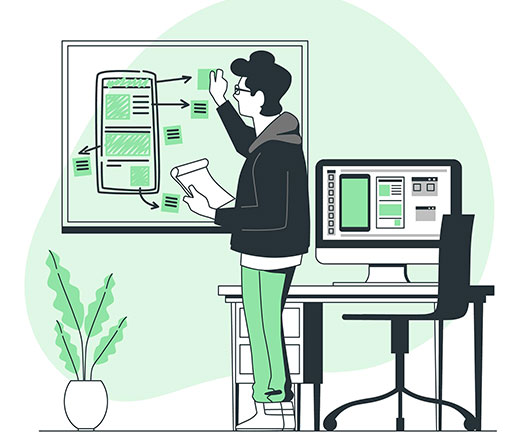
Because developing a mobile application is not just about writing code. It is a comprehensive project that includes:
Strategic framing,
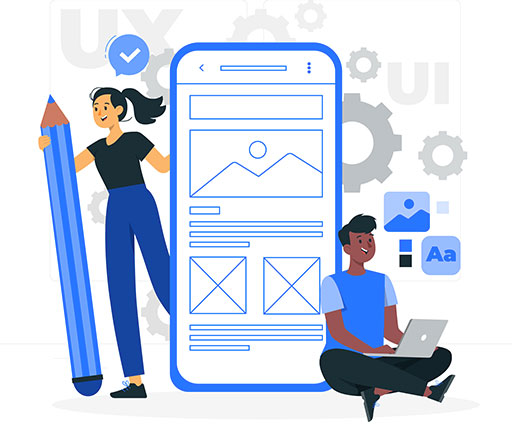
UX/UI design,
Technical development,
Project management,
Quality assurance (QA) testing,
Production start-up,
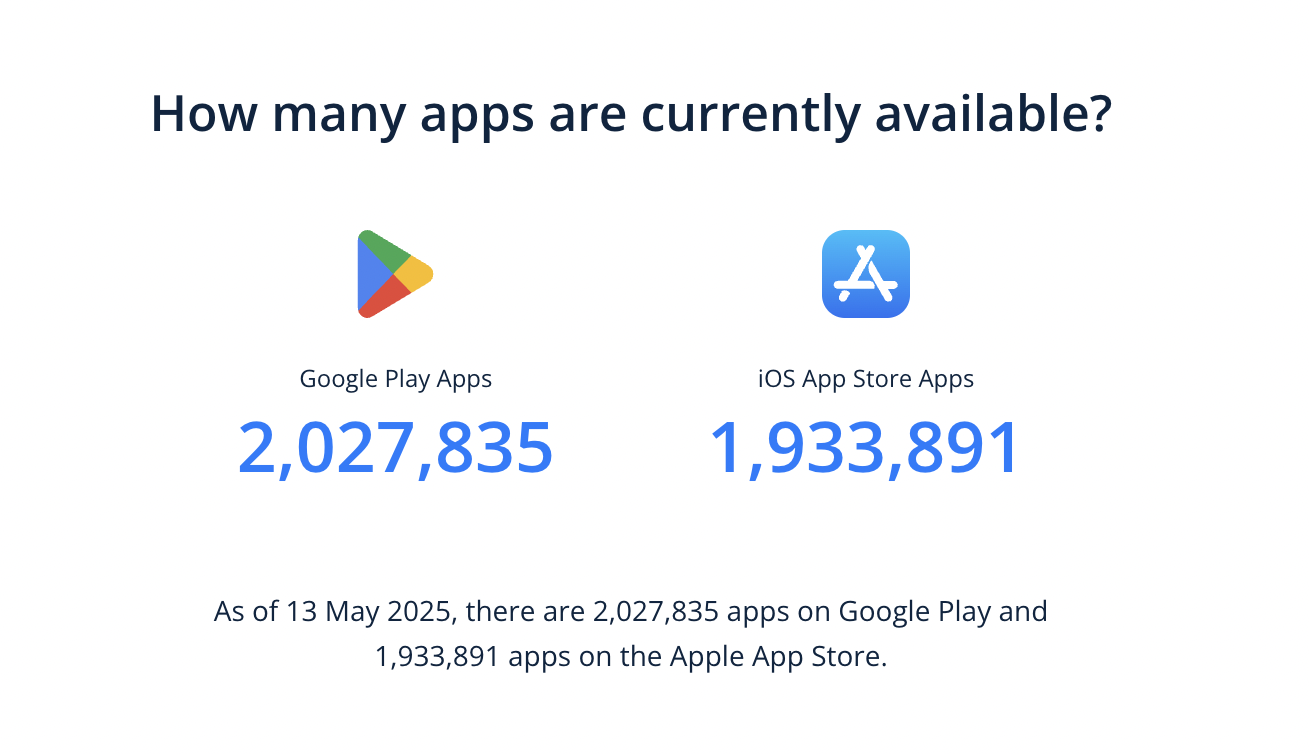
According to the group 42matters, there are approximately 3,961,726 apps available on the two main platforms (Google Play Apps and iOS App Store) worldwide. This means that standing out has become a real challenge, and that a simple bug, a poor user experience, or poor positioning can seriously damage your image and your results.
That's why we strongly recommend that you think carefully about how you choose your future technical partner.
👉 One small mistake at the outset can cost you a lot of time... and a lot of money.
What should you check before choosing your service provider?
Here are some key points to check before signing:
- Portfolio: Has the agency or freelancer already completed projects similar to yours?
- Customer references: are they available? What do former customers say?
- Work methodology: does he work using Agile, V-model, and which tools?
- Level of support: does he/she assist you with framing, strategy, and marketing?
- Detailed quote: does it provide a realistic, clear, and comprehensive estimate?
- Transparency: Are deadlines, limits, and constraints clearly explained from the outset?
Our vision: a partnership, not just a service
At NetDevices, we believe that every mobile application project should be treated as a long-term partnership, not just a technical assignment. We are committed to:
- Gaining an in-depth understanding of your business challenges,
- Advise you on best practices,
- Deliver a stable, scalable, and high-performance product.
- And support you well after going live.

5. Test, publish, and monitor your application
Before officially going live, your application must be thoroughly tested. This includes:
- Functional tests (does each feature work?)
- Ergonomic testing (is the user experience smooth?)
- Performance tests (is the application fast and stable?)
- Security tests (user data protection, payments, etc.)
Next, it's time for publication:
Finally, remember that the work doesn't stop at launch:
- Analysis of KPIs (engagement, retention, bugs, conversions, etc.)
- Regular updates
- Evolution of features according to needs
In summary: How to create a professional mobile app?
Creating a professional mobile application requires a clear strategy, rigorous execution, and a long-term vision.
Do you have an idea? Not sure where to start?
👉 Contact our team to discuss your project and get a free quote.
Kyomi is the marketing manager at NetDevices. Passionate about digital technology, she supports companies with their web, SEO, and AI strategies to maximize their visibility and growth.